|
||||||||||||||
Parts: |
||||||||||||||
|
||||||||||||||
Step By Step Installation |
||||||||||||||
 |
 |
|||||||||||||
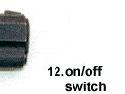
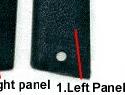
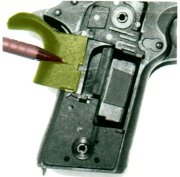
| Step 1 Unscrew the original grip panels and install the replacement 'left panel' #1. Make sure the 'on/off switch' #12 is in the off (upward) position. |
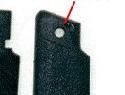
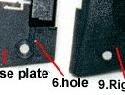
Step 2 Put the 'base plate' #2 onto the right frame of the pistol. |
|||||||||||||
 |
 |
|||||||||||||
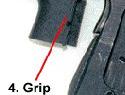
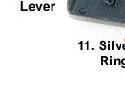
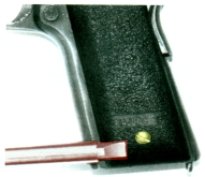
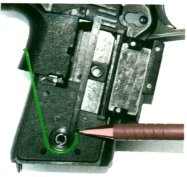
| Step 3 Slide the 'grip lever' # 4 into the opening of the 'base plate' #2. |
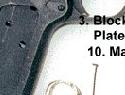
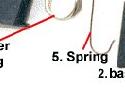
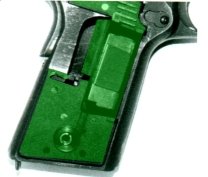
Step 4 Open the 'blocking plate' #3 an install the 'spring' #5 with its round end on the lower base hole #6. |
|||||||||||||
 |
 |
|||||||||||||
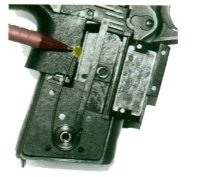
| Step 5 With a finger covering the rounded end, bend the hooked end onto the 'grip lever' #4. |
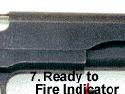
Step 6 Install the 'ready to fire indicator #7 onto the hole #8 of the 'grip lever' #4. |
|||||||||||||
 |
Step 8 Install the right panel. Step 9 The magnetic ring can be adjusted one size up or down. To avoid breaking the ring, Do not adjust it frequently. |
|||||||||||||
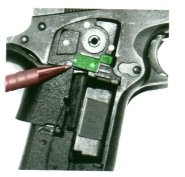
| Step 7 Adjust the location of the magnet #10 to match the location of the magnetic ring on your firing hand. Note: Ring is best to be worn on the middle finger. |
||||||||||||||